Infrared
Discussion about this tutorial on Flickr.
This is a basic tutorial about how to process pictures in Photivo that were taken with an infrared filter. The image you see was taken with a regular Pentax K20 and Hoya R72 filter.
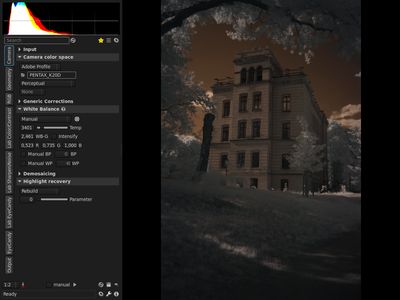
Right after opening an infrared picture it has a very severe red/brown tint. So, the first thing I do is getting the spot white balance on some leaves in the image (because white leaves in IR images tend to look good); here I used the lawn. This preview is in tab mode, so no filters in the following tabs are applied, besides the contrast corrections in the Output tab.
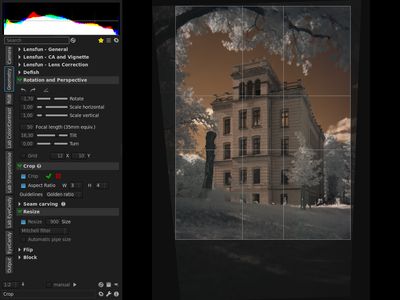
In the Geometry tab I corrected the rotation and perspective to get the building straight. That made black borders appear, so I needed to crop and then resize to the screen shot resolution. In the preview you see the crop tool in action.
Now a really essential step follows in the RGB tab. We have to switch the red and the blue channel with the channel mixer. You can do this manually or by opening the IR_Channelswitch preset like I did. Then Brighten just does its job…

Since it still looks rather dull, we need some contrast. I chose the two Texture contrast tools with large scale, but you should of course also experiment with the other contrast tools till you like the look.

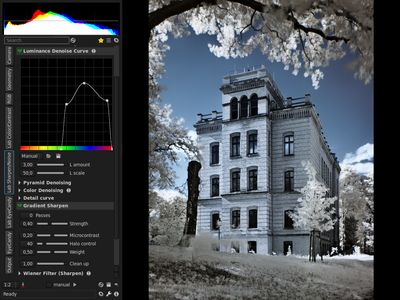
Processing in the Sharpen/Noise tab is always highly subjective. I chose the Luminance Denoise Curve to get cleaner blue values (curve above midline) and increase structure in the other values (curve below midline). Furthermore to get some more pixel contrast I used the microcontrast of the Gradient Sharpen tool.
Just a little more color with the Saturation Curve in adaptive mode and a weak vignette to keep the viewers focus.
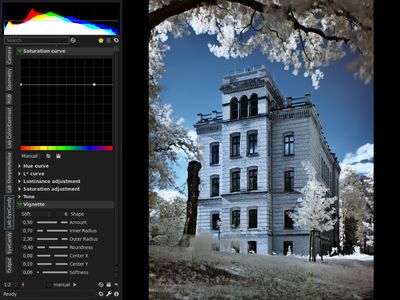
Here’s the picture after all processing, including the contrast setting on the Output tab for completeness. No filters are active on the EyeCandy tab. I hope you also consider this a solid IR picture.
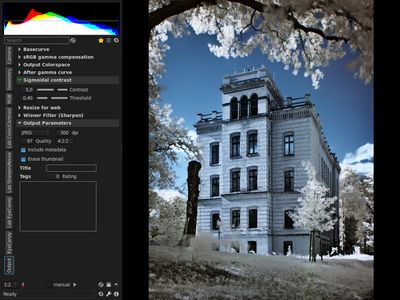
However, personally I would not stop here. I like it a bit more dreamy and unreal. So, here is my final version. The filters differ only on the last three tabs. The screenshot uses the active tools view (rightmost button below the histogram) to to give an overview of all active tools. Have fun while playing with Photivo to get your desired look ![]()

